WordPress)設定まとめ。メディアライブラリを使わないバージョン。
自宅WindowsPCローカルにWordPressをインストールしている。

以前、WordPress設定まとめを書いた。この時はメディアライブラリを使う前提だった。

メディアライブラリを使わない方法が分かったので、

今回は、メディアライブラリを使わない前提の設定まとめ。
※ 画像ファイルは「\wp-content\uploads\」の下に入れるだけ。メディアライブラリへの登録は不要。
1.外観テーマは「Iconic One」とする。
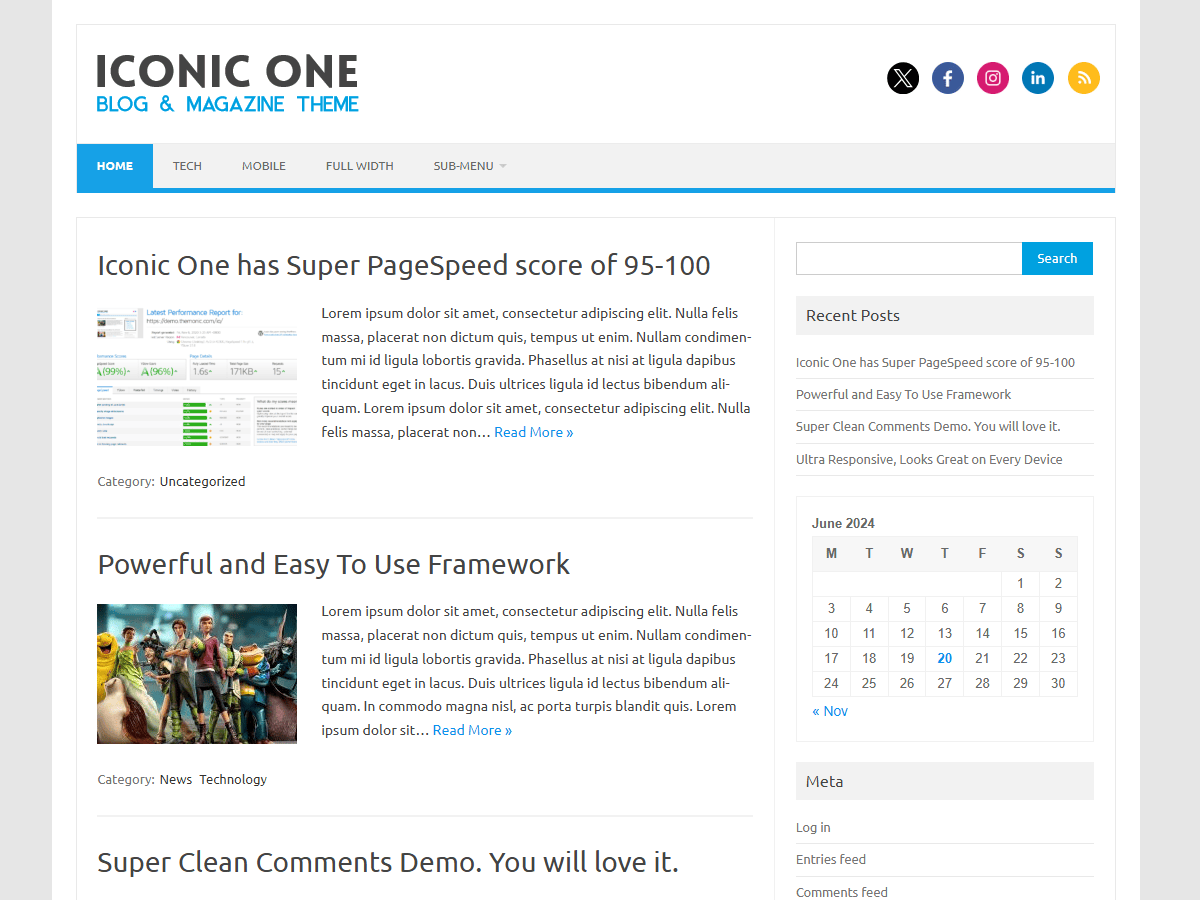

2.CSSの追加。
CSSの追加は、ダッシュボードの「外観 > カスタマイズ > 追加CSS」で入れても良いが、「\wp-content\themes\テーマフォルダ\custom.css」に入れた方が、外観テーマを変更する度にCSSの追加作業を行わなくても良い。
「\wp-content\themes\iconic-one\custom.css」に以下のCSSを追加する。
- 記事一覧で要約を表示しない。
- アイキャッチ画像を記事本文内で表示しない。
- 記事一覧のアイキャッチ画像を縮小して正方形にする。
- ブログカード用ショートコード用CSS。
- ショートコードによるブログカードの画像を正方形にする。
- ショートコードによるブログカードのデザインを少しカスタマイズ。
/* 記事一覧の要約を表示しない */
.entry-summary {
	display: none;
}
/* 個別記事内でアイキャッチ画像非表示 */
.entry-featuredImg {
	display: none;
}
/* 記事一覧のアイキャッチ画像を縮小して正方形に */
.entry-header img {
	width:120px;
	height:120px;
	object-fit:cover;
	margin-right:16px;
	float:left;
}
/* ブログカードでショートコードを使用。*/
a.nm-card {
	border: 1px solid #e1e1e1;
	box-shadow: 0 3px 5px rgba(0, 0, 0, 0.22);
	display: block;
	padding: 15px;
	position: relative;
	-webkit-transition: 0.3s ease-in-out;
	-moz-transition: 0.3s ease-in-out;
	-o-transition: 0.3s ease-in-out;
	transition: 0.3s ease-in-out;
	width: 90%;	/* 100% */
	text-decoration: none;
}
a.nm-card:hover {
	box-shadow: none;
	opacity: .8;
}
.nm-card-box {
	display: -webkit-flex;
	display: -moz-flex;
	display: -ms-flex;
	display: -o-flex;
	display: flex;
}
.nm-card-title {
	font-size: 18px;
	font-weight: 600;
	color: #428bca;
	padding-bottom: 5px;
}
.nm-card-thumbnail {
	/* flex: 1; */
	width: 120px; /* 追加 */
	margin-right: 20px; /* 15 px */
	padding-top: 5px;
}
/* ブログカードの画像を正方形に */
.nm-card-thumbnail img {
	width: 120px;
	height: 120px;
	object-fit: cover;
}
.nm-card-content {
	flex: 2.5;
}
.nm-card-excerpt {
	color: #808080;
	font-size: 13px;
	padding-bottom: 15px;
}
.nm-card-site {
	border-top: dashed 1px #a4a4a4;
	color: #b2b2b2;
	font-size: 11px;
	text-align:right;
	padding-left: 5px;
}
.nm-card-site img {
	margin-right: 5px;
	vertical-align: bottom;
	width: 20px;
}
@media (max-width: 980px) {
	.nm-card-excerpt {
		border: none;
	}
}
@media (max-width: 640px) {
	a.nm-card {
		padding: 10px 10px 20px 10px;
	}
	.nm-card-thumbnail {
		margin-right: 10px;
		padding-top: 10px;
	}
	.nm-card-title {
		font-size: 14px;
	}
	.nm-card-excerpt {
		display: none;
	}
}
3.「wp-content\themes\テーマフォルダ\content.php」
3.1 「記事一覧」の画像をアイキャッチ画像ではなく、記事内の一番目の画像を使う。
(※ 4.1 参照)
「\wp-content\themes\iconic-one\content.php」に以下を入れる。
<h2 class="entry-title">
	<a href="<?php the_permalink(); ?>" title="<?php echo esc_attr( sprintf( __( 'Permalink to %s', 'iconic-one' ), the_title_attribute( 'echo=0' ) ) ); ?>" rel="bookmark">
	<?php if (has_post_thumbnail()) : ?>
		<?php the_post_thumbnail('thumbnail'); ?>
	<?php else : ?>
		<img src="<?php echo catch_that_image(); ?>" alt="" />
	<?php endif ; ?>
	<?php the_title(); ?></a>
</h2>
3.2 「記事一覧」に日付を表示するようにする。
「\wp-content\themes\iconic-one\content.php」に、「echo get_the_date();」を追加。
合わせて、「カテゴリ:」の文字を削除。以下の'Category:'を' 'に変更。
<footer class="entry-meta">
	<span class="date updated"><?php echo get_the_date(); ?></span>
	<?php if ( is_home() && ( get_theme_mod( 'iconic_one_catg_home' , '1' ) == '1' ) ) : ?>
		<span><?php _e('Category:','iconic-one'); ?> <?php the_category(' '); ?></span>
	<?php elseif( !is_home() ): ?>
		<span><?php _e('Category:','iconic-one'); ?> <?php the_category(' '); ?></span>
	<?php endif; ?>
4.「wp-content\themes\テーマフォルダ\functions.php」
4.1 「記事一覧」の画像をアイキャッチ画像ではなく、記事内の一番目の画像を使う。
「\wp-content\themes\iconic-one\functions.php」に「catch_that_image()」を追加。
function catch_that_image() {
	global $post, $posts;
	$first_img = '';
	ob_start();
	ob_end_clean();
	$output = preg_match_all('/<img.+src=[\'"]([^\'"]+)[\'"].*>/i', $post->post_content, $matches);
	$first_img = $matches [1] [0];
	if(empty($first_img)){
		// 記事内で画像がなかった時のための画像を指定(ディレクトリ先や画像名称は任意)
		$first_img = esc_url(get_template_directory_uri()) . "/images/common/noImage.png";
	}
	return $first_img;
}
4.2 ブログカードでショートコードを使用。

「\wp-content\themes\iconic-one\functions.php」に以下を追加。
//ブログカードのレイアウトを生成
function nm_create_blogcard_layout($url, $title, $excerpt, $image_url, $site, $prefix) {
	$blogcard = '<a href="'. $url .'" class="'. $prefix .'-card" target="_blank" rel="noopener noreferrer">' .
			'<div class="'. $prefix .'-card-box">';
	if ($image_url <> "") {
	$blogcard .= 		'<div class="'. $prefix .'-card-thumbnail">' .
					'<img src="' . $image_url . '" alt="' . $title . '"/>' .
				'</div>';
	}
	$blogcard .= 		'<div class="'. $prefix .'-card-content">' .
					'<div class="'. $prefix .'-card-title">'. $title .' </div>' .
					'<div class="'. $prefix .'-card-excerpt">'. $excerpt .'</div>' .
					'<div class="'. $prefix .'-card-site">'. $site .'</div>' .
				'</div>' .
			'</div>' .
		'</a>';
	return $blogcard;
}
//記事の文章を抜粋して取得する
function nm_get_excerpt_post( $post_id, $length = 55 ) {
	//指定された投稿を取得
	$post = get_post( $post_id );
	//投稿からショートコードを削除
	$post_non_code_content = strip_shortcodes( $post->post_content );
	//指定した文字列文返却する
	return wp_trim_words($post_non_code_content, $length);
}
//ショートコード
function nm_create_blogcard($atts) {
	//imageがない場合の画像の設定
	$no_image = "";
	//エラーになった時の文字を指定しておく
	$err_msg = "<p>ブログカード取得失敗</p>";
	//初期値を設定して連想配列($atts)を変数($url, $title, $excerpt)に変換
	extract(shortcode_atts(array('url'=>"", 'title'=>"", 'excerpt'=>"", 'length'=>55, 'image_url'=>"", 'site'=>"", 'prefix'=>"nm" ), $atts));
	//エラーチェック(urlが空の場合) エラー表示
	if (empty($url)) return $err_msg;
	//urlからpostIDを取得
	$post_id = url_to_postid($url);
	//タイトルの取得(title未設定の場合)
	if (empty($title)) $title = esc_html(get_the_title($post_id));
	//記事の抜粋
	if (empty($excerpt)) $excerpt = esc_html(nm_get_excerpt_post($post_id, $length));
	//指定イメージがない場合、アイキャッチ画像を取得する
	if (empty($image_url)) {
		//アイキャッチ存在チェック
		if (has_post_thumbnail($post_id)) {
			//アイキャッチ取得
			$image = wp_get_attachment_image_src(get_post_thumbnail_id($post_id),'medium');
			$image_url = $image[0];
		} else {
			$image_url = $no_image;
		}
	}
	if (empty($site)) $site = $url;
	//ブログカードのレイアウトを作成
	$blogcard = nm_create_blogcard_layout($url, $title, $excerpt, $image_url, $site, $prefix);
	//ショートコードを呼び出したところに挿入する場合、returnで返す。
	return $blogcard;
}
add_shortcode("nmblogcard", "nm_create_blogcard");
4.3 「\wp-content\uploads\」に余分なサイズの画像が自動生成されるのを停止する。
「\wp-content\themes\iconic-one\functions.php」の以下をコメントアウトする。
//	set_post_thumbnail_size( 660, 9999 ); // Unlimited height, soft crop
//	add_image_size('excerpt-thumbnail', 200, 140, true);
//	add_image_size('excerpt-thumbnail-mobile', 380, 200, true);
5.「\wp-content\uploads\」に余分なサイズの画像自動生成を停止する。
5.1 設定 > メディア
以下の画像サイズを全て0にする。

5.2 wp-admin/options.php(自宅PCの場合)
で、「medium_large_size_w」を0にする。

6.はてなブログから移行した画像をポップアップ表示。
はてなブログから移行した画像を記事内でポップアップ表示する場合、以下の設定を行う。詳細は以下の記事の中。

99.【番外編】WordPressのデータベース変更。
「wp-config.php」ファイルの「DB_NAME」を変更する。
\xampp\htdocs\wordpress\wp-config.php
/** WordPress のためのデータベース名 */
define('DB_NAME', 'wp_test');

/** MySQL データベースのユーザー名 */
define('DB_USER', 'root');

/** MySQL データベースのパスワード */
define('DB_PASSWORD', '*****');
※ メディアライブラリを使わない「はてなブログから移行(インポート)手順まとめ」は以下(↓)。


WordPressのデータベース変更。昨日、自宅のWindowsPCに WordPress をインストールした。 WordPress 用のデータベースを切り替えてみる。 http…晴歩雨描 · 


